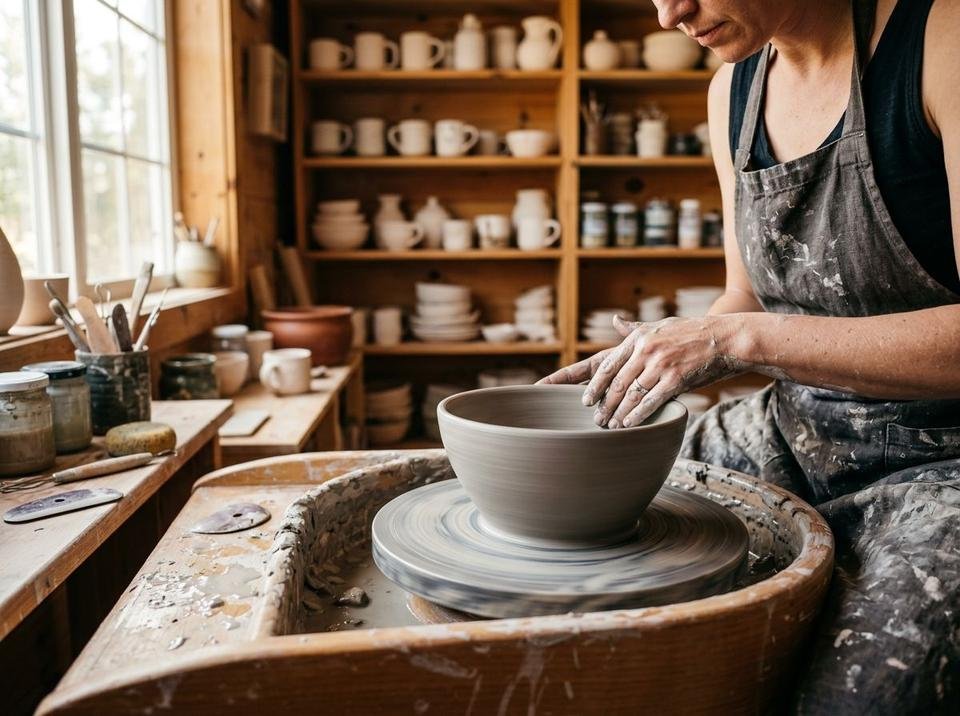
Firmly anchor clay on the bat head and compress the base with your fingers to prevent S-cracks during drying.
Learn the muscle memory of centering clay, pulling even cylinder walls, avoiding rim wobble, and trimming professional foot rings on your pottery wheel.
The biggest breakthrough for new potters happens when they stop wrestling the clay with arm muscle and start locking their elbows into their thighs, letting body weight and wheel momentum do the work.
Our wheel throwing studio guides explain the exact finger placements for coning up and down, opening a flat base, and pulling uniform 5mm walls that stay steady.
Firmly anchor clay on the bat head and compress the base with your fingers to prevent S-cracks during drying.
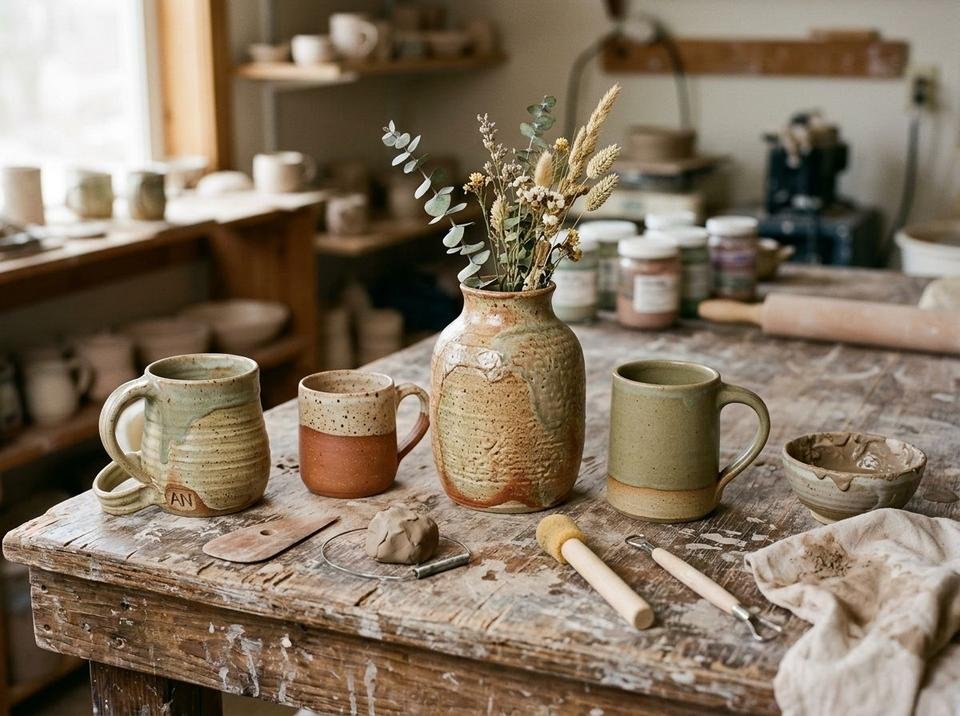
Position your inner and outer knuckles to gently pinch and glide clay upward in three measured, slow pulls.
Invert the leather-hard cylinder on the wheel head and shave away excess clay with sharp loop tools for a refined, lightweight base.
Receive weekly troubleshooting guides for wheel wobbles, trimming speed charts, and glaze dipping checklists in your inbox.