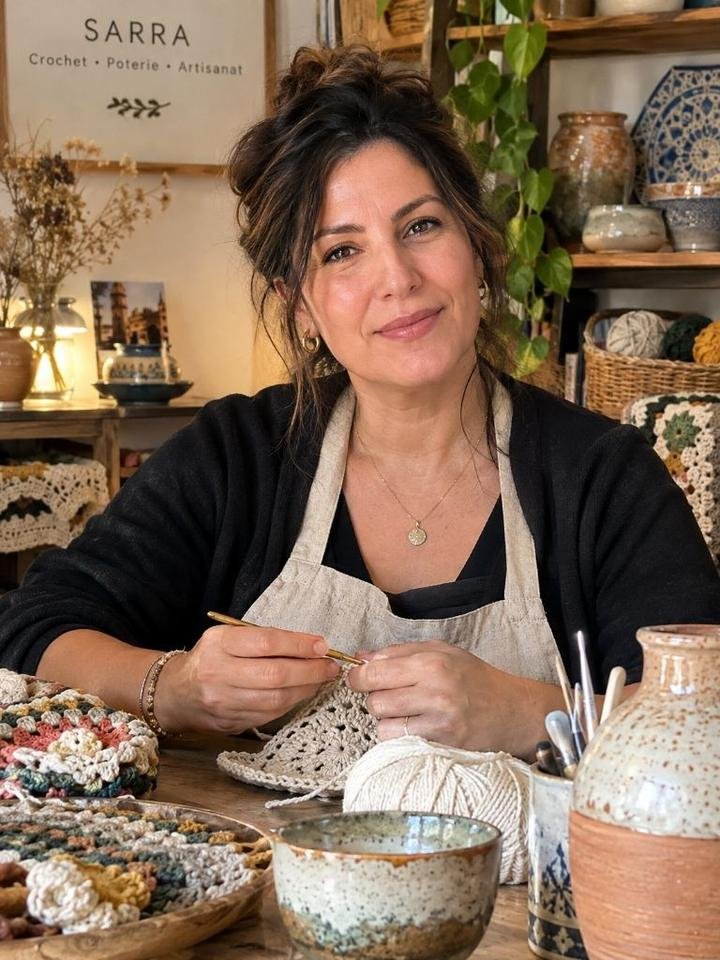
Mastering the herringbone single crochet stitch changes how you build fabric. By catching the vertical leg of the previous stitch before entering your next chain, you transform ordinary rows into an arrow-straight woven pattern with rich tactile heft.
Most crochet stitches stack on top of one another in vertical pillars. While regular single crochet creates a firm grid, it rarely mimics the luxurious herringbone twill found in tailored wool fabrics.
The herringbone single crochet stitch changes that structural rule. By catching one extra loop from the side of your work, you pull every stitch into an intentional diagonal slant.
When you turn your piece and work back across the wrong side using a reverse hook angle, the two opposing rows lock together. They form an interlocking series of neat V-shaped chevrons that look almost identical to woven cloth.
Materials and Studio Setup for Clean Herringbone Texture
Before you wind your yarn, take a moment to look at fiber composition. The herringbone single crochet stitch draws yarn horizontally across each stitch face, which creates a firmer, thicker fabric than normal single crochet.
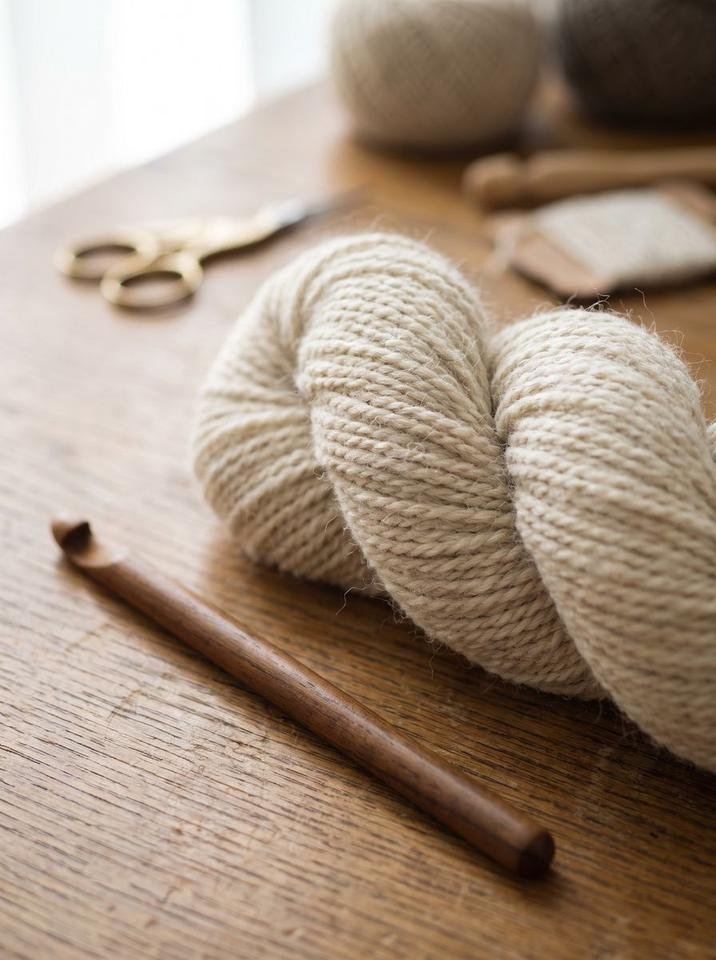
For this tutorial swatch, we selected an un-dyed, four-ply worsted weight wool in an oatmeal heather shade. Wool has natural crimp and elasticity, which helps forgive slight tension variations as you pull loops through.
If you prefer plant fibers, a smooth cotton-linen blend creates outstanding stitch definition for kitchen trivets or summer market totes. Avoid heavily brushed alpaca, mohair, or fluffy chenille yarns for your initial practice swatch, because fuzzy halos obscure the diagonal legs.
Here is what you will need at your craft table:
- Worsted weight yarn: Approximately 60 to 80 yards of smooth #4 medium weight wool or cotton blend for a 5-inch swatch.
- Crochet hook: 5.0 mm (US H-8) or 5.5 mm (US I-9). Using a hook 0.5 mm larger than your yarn label recommends makes inserting into the vertical leg much easier.
- Locking stitch markers: Two markers to clip into the turning chains and end stitches so you never lose your selvage edges.
- Wool yarn needle and sharp snips: A blunt bent-tip needle to weave yarn tails cleanly into the dense herringbone channels.
Studio note on hook shape: Hooks with tapered heads and slightly rounded throats slip into the side bars of herringbone stitches with less splitting than sharp inline hooks.
Herringbone Single Crochet Mechanics vs Standard Single Crochet
To master this stitch quickly, it helps to understand what makes its mechanics unique. In a conventional single crochet, you insert your hook through the top two loops of a stitch, draw up a loop, yarn over, and pull through both loops on the hook.
Every standard stitch stands isolated from its neighbor. This independence allows the fabric to flex in four directions, but it can leave noticeable tiny gaps between rows.
In contrast, the herringbone single crochet links adjacent stitches together. Before you insert your hook into the next stitch space, you slide the hook tip under the leftmost vertical strand of the stitch you just completed.
That extra connection acts as a diagonal anchor. It tilts the working loop to a 45-degree angle, forcing the new stitch to lean sideways as you draw your yarn through.
Because every stitch leans in the direction of your hook path, working back and forth across a flat piece creates opposing angles. Row 1 slants to the right, Row 2 slants to the left, and together they create the iconic arrow motif.
Step-by-Step Tutorial: How to Crochet the Herringbone Single Crochet Stitch
Follow these eight detailed steps to build your foundation, balance your edge tension, and execute the reverse wrong-side row with confidence.
Step 1 · The Slip Knot and Foundation Chain
Begin by creating a firm slip knot on your hook, leaving a 6-inch yarn tail for later weaving. Hold your hook comfortably with relaxed hand tension.
Chain 21 stitches (or any desired stitch count plus one extra chain for your turning height). The herringbone single crochet has no complex multiple requirements, so any whole number works.
Keep your foundation chain noticeably loose. If your starting chain is tight, the dense herringbone rows above it will cause the bottom edge to smile or flare into an unwanted curve.
Step 2 · Starting Row 1 (The Initial Insertion)
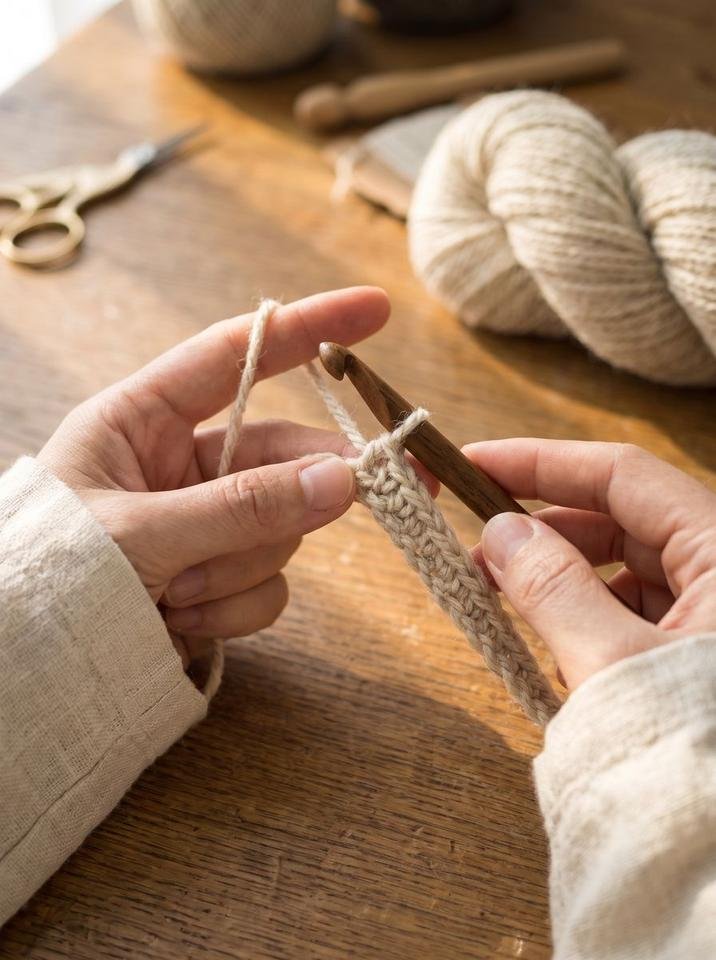
Locate the second chain from your crochet hook. Skip the first chain, which serves strictly as turning height for the row.
Insert your hook into the top loop or back bump of the second chain. For the cleanest bottom edge on finished projects, working into the back bump creates a neat braided hem.
Yarn over your hook from back to front and draw the yarn through the chain. You now have two distinct loops resting on your hook barrel.
Step 3 · The Signature Herringbone Pull-Through
Here is where the herringbone movement begins. Take the first loop on your hook (the one closest to the hook tip) and draw it directly through the second loop.
This single motion resembles a slip stitch. It drops your loop count on the hook back down to one, while setting a sharp horizontal tilt into the base of the stitch.
Do not pull this loop tight against the hook shank. Keep it tall and relaxed so your hook can maneuver smoothly on the subsequent step.
Step 4 · Completing the Stitch and Linking Forward
Yarn over once more and pull through the remaining loop on your hook. That completes the very first herringbone single crochet of your row.
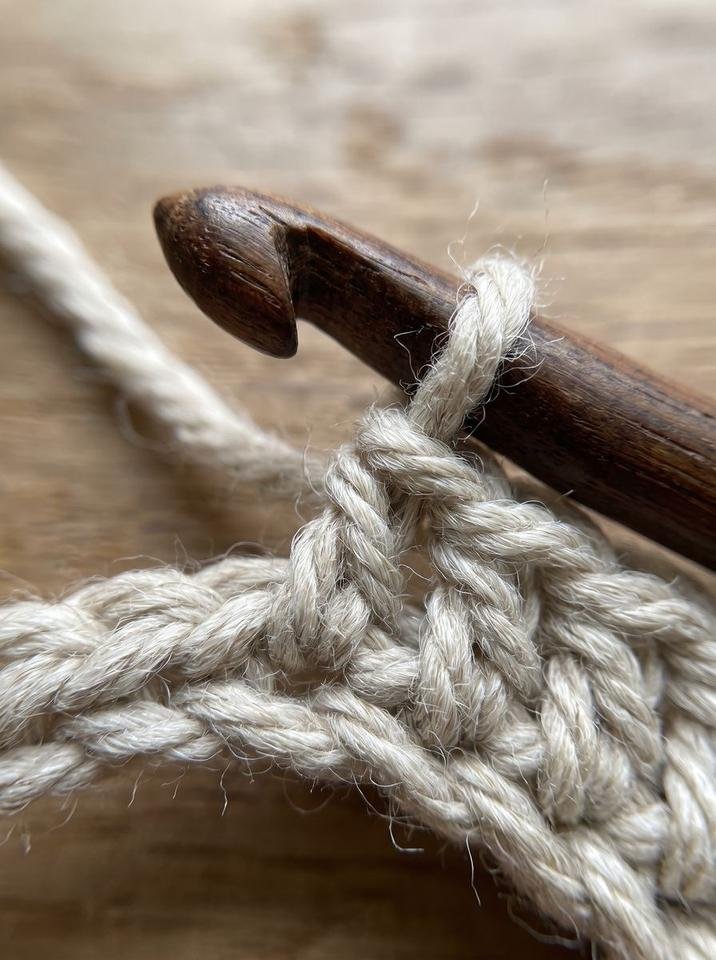
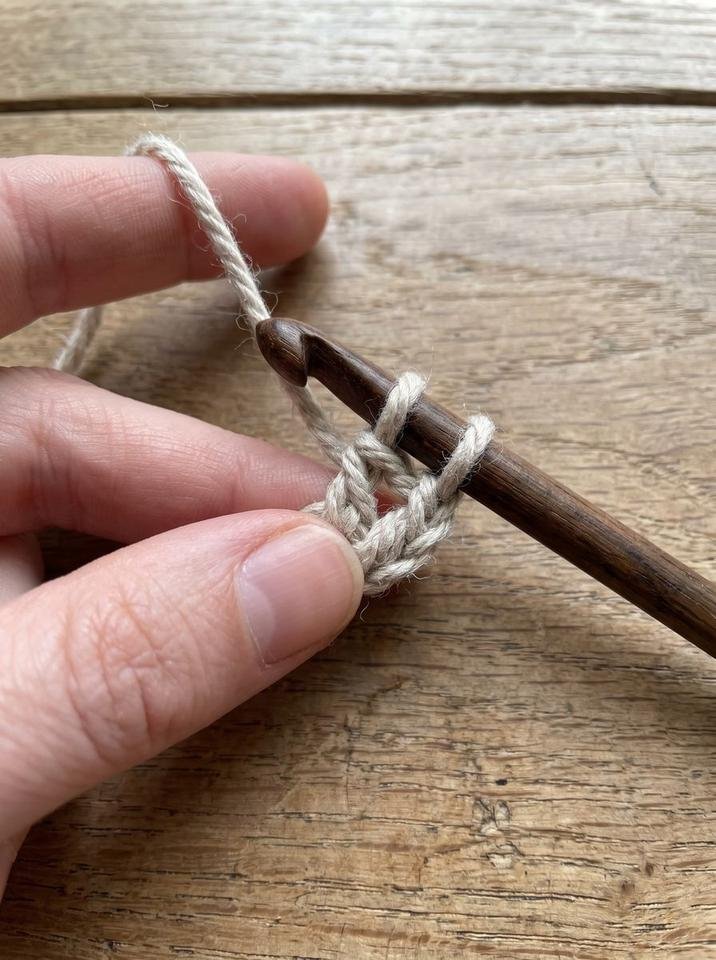
Now look at the left side of the stitch you just finished. You will see a prominent vertical strand of yarn running down the front-left edge of the stitch body.
To work your second stitch, slide your hook downwards under that vertical strand first. Then insert the hook into the very next chain of your foundation row.
Yarn over and pull up a loop through the chain (three loops now on your hook). Pull the first loop through the second loop, yarn over, and pull through the final two loops.
For repetitive vertical loop catching, we love using the smooth aluminum head of the Clover Amour Crochet Hook Size H 5.0mm to prevent yarn splitting during long stitch runs.
Step 5 · Row 2 Reverse Herringbone Single Crochet (Wrong Side)
When you reach the end of Row 1, count your stitches to confirm you have exactly 20 herringbone stitches. Chain 1 and turn your work.
If you worked normal stitches on the wrong side, the diagonals would cancel out and appear random. To produce crisp matching chevrons, Row 2 requires a reverse insertion.
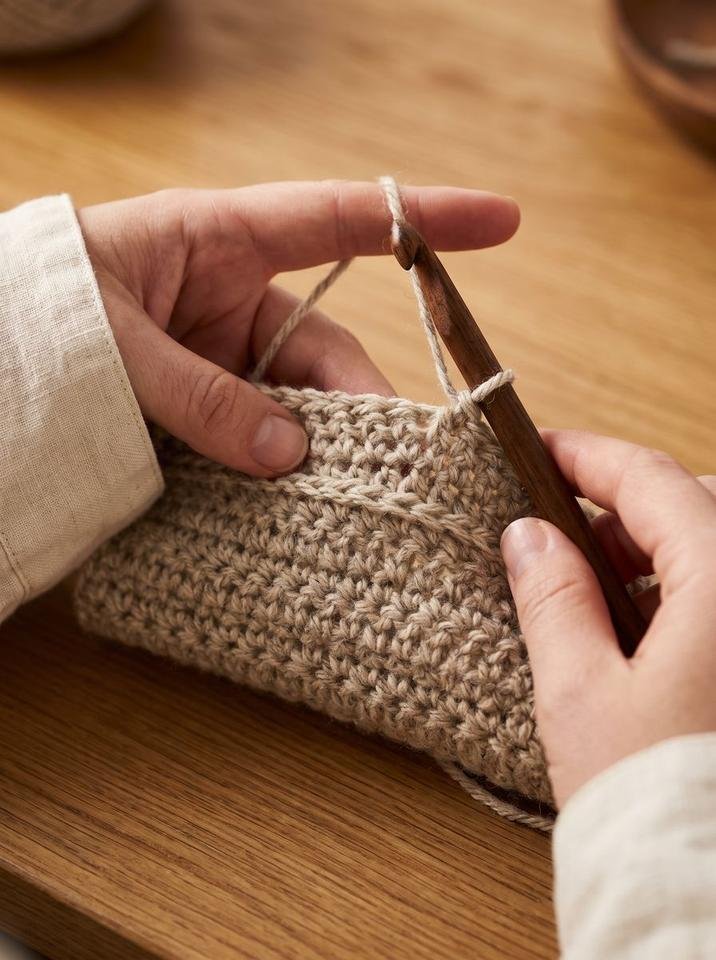
Keep your working yarn in front of your work. Insert your hook from the back of the fabric toward the front, catching the vertical strand on the back side, then push through both top loops of the stitch from back to front.
Yarn over by scooping the strand from behind, draw the loop through to the back, slip through the vertical loop, yarn over, and draw through the final loop. This backward movement forces the slant in the opposing direction.
Step 6 · Mastering Turning Chains and Crisp Selvages
The edges of herringbone crochet can pull inward if the final stitch of each row is handled incorrectly. The turning chain does not count as a stitch.
When approaching the final stitch of Row 2, make sure you do not mistake the turning chain from Row 1 for a true stitch. Find the top two horizontal bars of the final stitch and complete your reverse herringbone there.
Place a locking stitch marker directly into the first and last stitch of every row. This simple habit keeps your stitch counts rock steady and stops your edges from wandering.
For more foundational stitch counting techniques, explore our comprehensive library of beginner crochet guides designed to build studio confidence.
Step 7 · Reading Your Fabric and Checking Gauge
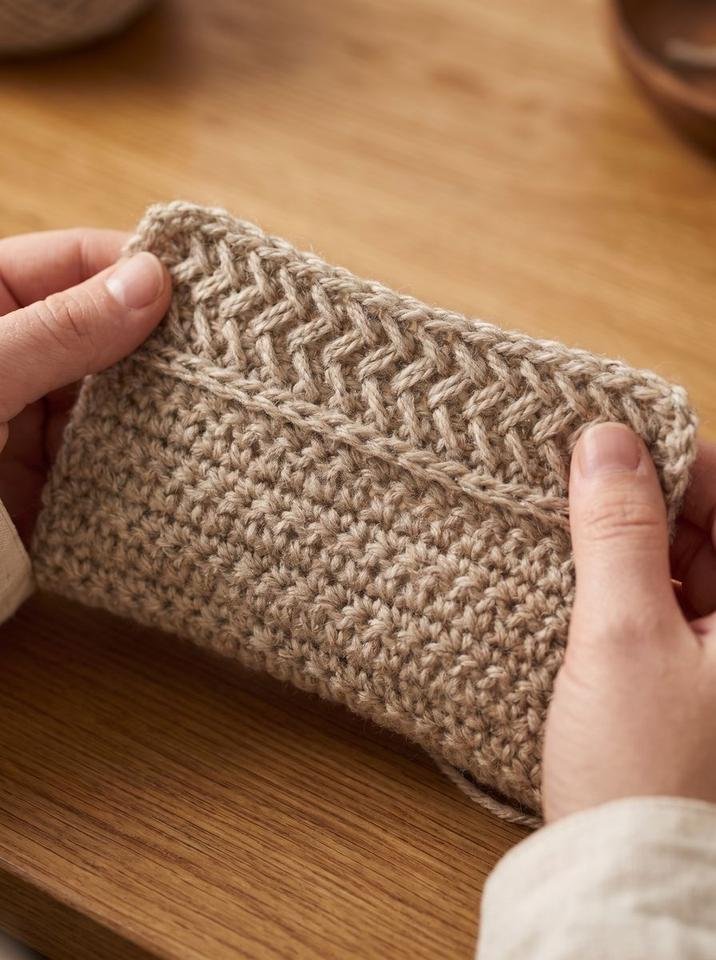
Once you have completed six to eight rows, lay your work flat on a hard wooden surface. Notice how the alternating right-leaning and left-leaning rows nest into distinct V-shapes.
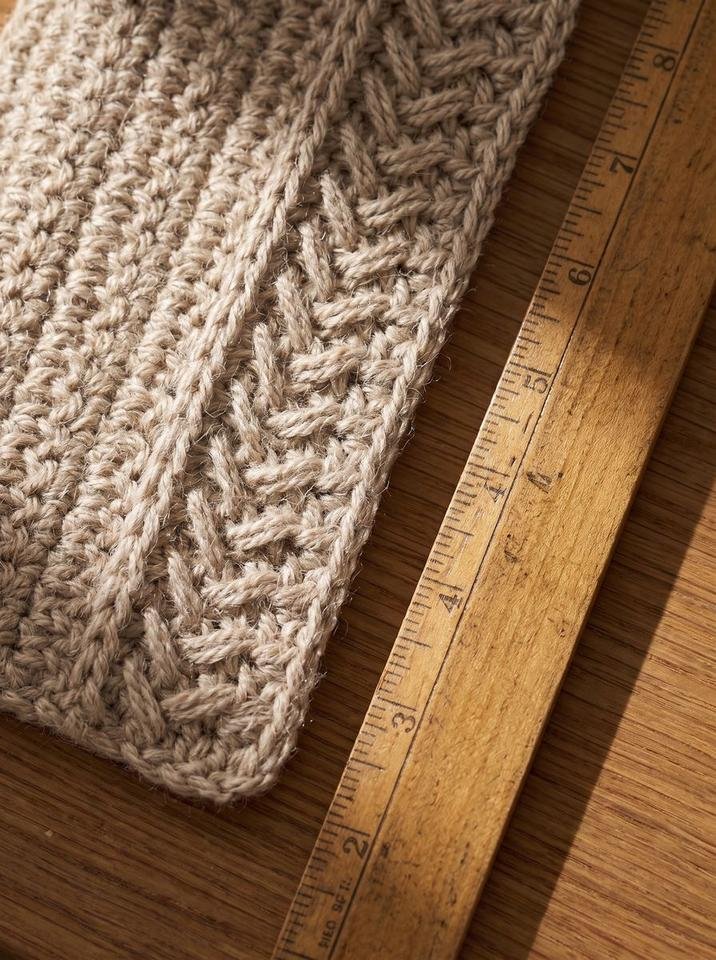
Use a wooden ruler or measuring gauge to count your stitches per four inches. In our studio sample, worsted wool produced 16 stitches across 14 rows per four-inch square.
If your swatch measures narrower than expected, your tension on the pull-through loop is likely too tight. Relax your wrists and let the loop sit loosely on the hook shaft.
For rich stitch definition with authentic natural drape, we recommend working with Lion Brand Fishermen's Wool Yarn in Oatmeal for its clean ply structure and resilience.
Step 8 · Steam Blocking for Flat, Professional Edges
Because herringbone stitches pull diagonally, raw unblocked swatches naturally display a slight curl at the corners. Steam blocking solves this in minutes.
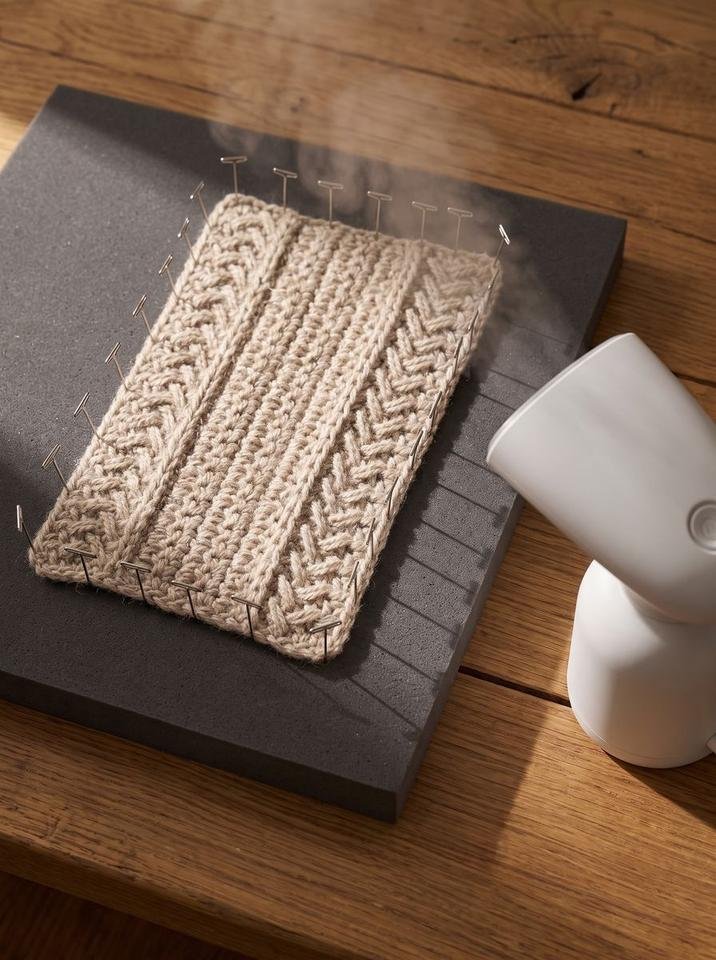
Pin your swatch squarely onto high-density foam blocking mats using rust-proof T-pins every two inches along the edges. Measure diagonally across corners to ensure exact squareness.
Hover a garment steamer or steam iron two inches above the wool fabric. Never press the iron directly onto the stitches, as direct heat can crush the three-dimensional diagonal ridges.
Allow the piece to cool and dry completely before removing the pins. Once released, the fibers will retain their crisp memory and lie completely flat.
To keep diagonal herringbone rows perfectly aligned during finishing, we rely on KnitIQ Blocking Mats with T-Pins for their thick foam and precise printed gridlines.
Working Flat vs In the Round: Essential Adjustments
Crocheting herringbone flat versus in the round creates completely different visual effects. When you work flat, the back-and-forth row structure creates the alternating chevrons we love.
However, when you work in continuous un-turned spirals, every stitch slants in the same direction. This creates a diagonal swirl or barber-pole spiral that looks gorgeous on pencil cups and cylindrical storage baskets.
If you want the classic V-chevron pattern on a continuous cowl or round tote bag, you must join each round with a slip stitch, chain 1, and turn your work.
Turning at the end of each round allows you to alternate right-side and wrong-side reverse rows, preserving the mirrored chevron appearance without needing a flat side seam.
For quick side-by-side stitch comparisons and abbreviations, reference our handy free crochet maple leaf patterns to plan your next pattern texture.
Troubleshooting Common Mistakes with the Herringbone Single Crochet Stitch
Even seasoned crafters experience a few quirks when first experimenting with the herringbone single crochet stitch. Here are the most frequent studio hurdles and how to solve them.
1. Fabric Feels Stiff and Rigid Like Cardboard
If your swatch cannot bend or drape comfortably around your hand, your loop height is too restricted. Go up one full hook size (for example, from a 5.0 mm to a 6.0 mm hook) and allow your pull-through loops to rise naturally to the height of the hook shaft.
2. Stitch Count Shrinks by One Stitch Every Two Rows
This happens when the final stitch of the row is skipped. Because the diagonal strand pulls the top loops slightly backwards, the last stitch can look tucked away. Mark the first stitch of each row with a plastic locking pin so you know exactly where to insert your hook on the return pass.
3. Edges Curl Inward Dramatically
Herringbone fabric naturally pulls inward due to lateral tension. While wet blocking or steam blocking resolves mild edge curling, extreme curling indicates a foundation chain that was worked too tightly. Start future pieces with a foundation chain worked two hook sizes larger than your main body hook.
4. Splitting the Vertical Leg Strand
Catching only half of the vertical strand weakens the diagonal bridge and creates small fuzz balls. Slow down your hook insertion and rotate your wrist slightly downward to scoop underneath the full two-ply or four-ply leg.
Best Project Ideas for Dense Herringbone Fabric
Because the herringbone single crochet stitch produces a dense, sturdy fabric with minimal daylight between stitches, it excels in projects that require structure and warmth.
- Structured Handbags and Market Totes: The interlocked diagonal stitches prevent heavy items from stretching the bag base out of shape.
- Winter Cowls and Ear Warmers: Dense herringbone fabric blocks cold wind effectively, providing double the insulation of open lace stitches.
- Modern Table Runners and Coasters: The flat, woven geometry complements rustic farmhouse and Scandinavian home decor naturally.
- Textured Throw Pillows: Herringbone panels provide high visual interest on neutral sofa cushions without demanding complex colorwork.
Frequently Asked Questions
Why is my herringbone single crochet fabric curling so tightly?
Herringbone crochet draws yarn horizontally across each stitch, creating more lateral tension than standard stitches. Increase your hook size by 0.5 mm or 1.0 mm to give the diagonal legs enough slack to lie flat.
Is the herringbone single crochet stitch reversible?
Yes. When worked in flat back-and-forth rows with the reverse stitch method on wrong side rows, both sides of the fabric produce an identical woven chevron pattern.
Can I work this stitch in continuous rounds without turning?
If you work in continuous un-turned rounds, all stitches will lean in the same direction, creating a spiral twill rather than an alternating V-chevron. To achieve the chevron look in the round, slip stitch to join and turn your work after every round.
What yarn weight displays the herringbone pattern best?
Smooth worsted or DK weight yarns with clean ply definition show the diagonal bars most clearly. Highly textured yarns like boucle, chenille, or mohair tend to bury the geometric lines.
How does this stitch differ from herringbone half double crochet?
Herringbone single crochet creates a much firmer, denser fabric with shorter diagonal bars. Herringbone half double crochet works up faster and offers a softer, more fluid drape suitable for sweaters and blankets.
Taking the time to practice your reverse row mechanics unlocks one of the most rewarding textures in the craft. Once you find your rhythm, the herringbone single crochet stitch will become your favorite choice whenever you need clean structural lines, durable heft, and classic woven beauty.