This crochet waffle stitch blanket pattern creates an ultra-squishy, deeply textured throw in six custom sizes, featuring a foolproof turning chain technique that keeps your blanket selvage straight without diagonal edge drift.
Few stitch combinations feel quite as comforting under your hands as the waffle pattern. While standard double crochet blankets provide lightweight warmth, the dimensional square pockets formed by front post stitches trap air like thermal quilting.
Many makers avoid waffle blankets because of two common frustrations: edges that lean diagonally over sixty rows, and borders that ruffle uncontrollably. This step-by-step studio guide solves both issues with tested stitch counts and exact placement rules.
Whether you want to work a portable stroller throw with self-striping cake yarn or craft an expansive bedspread in earthy wool, this complete guide covers foundation calculations, yardage requirements, and finishing methods from start to finish.
Jump to Tutorial Steps
Crochet Waffle Stitch Blanket Pattern: Step-by-Step Tutorial
Follow these eight detailed steps to build your foundation, balance your edge tension, and execute the two-row waffle texture with confidence.
Step 1 · Finished Drape & Thermal Pockets

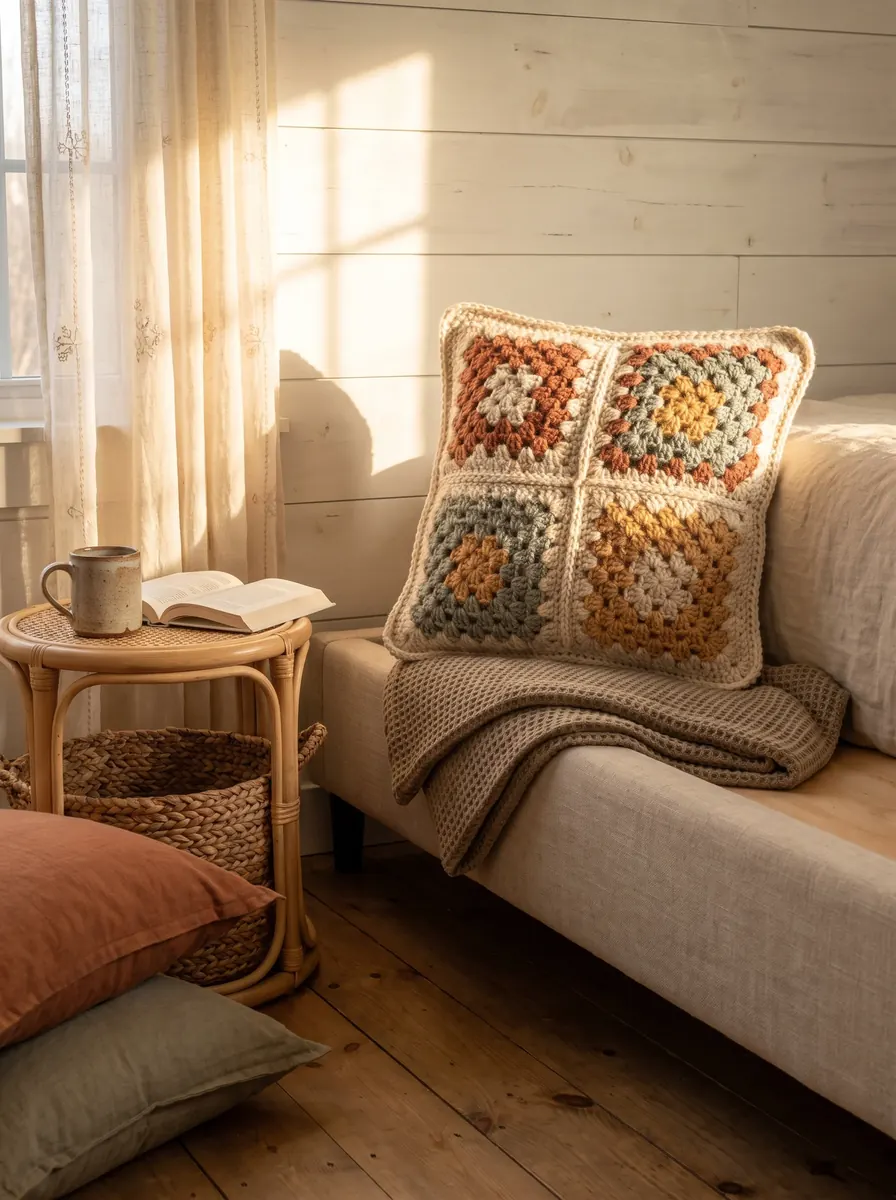
The distinctive character of a waffle blanket comes from its tactile grid. Each raised square cell creates a cushioned pocket that catches ambient light while building genuine thermal insulation.
On the right side of the fabric, pronounced vertical and horizontal ribs frame recessed square pockets. On the reverse side, the stitch structure forms smooth grid channels that feel wonderfully soft against sensitive skin.
Because the post stitches pull rows closer together vertically, the resulting fabric has substantial physical weight. It rests on a sofa or lap without sliding, making it one of the coziest blankets you will ever craft.
Sara's Studio Observation: Post stitches draw the fabric in, so a waffle swatch measures narrower than plain double crochet on the same hook. Always check gauge on a waffle swatch of at least 6 inches, never on plain rows.
Step 2 · Materials, Hook & Yarn Selection
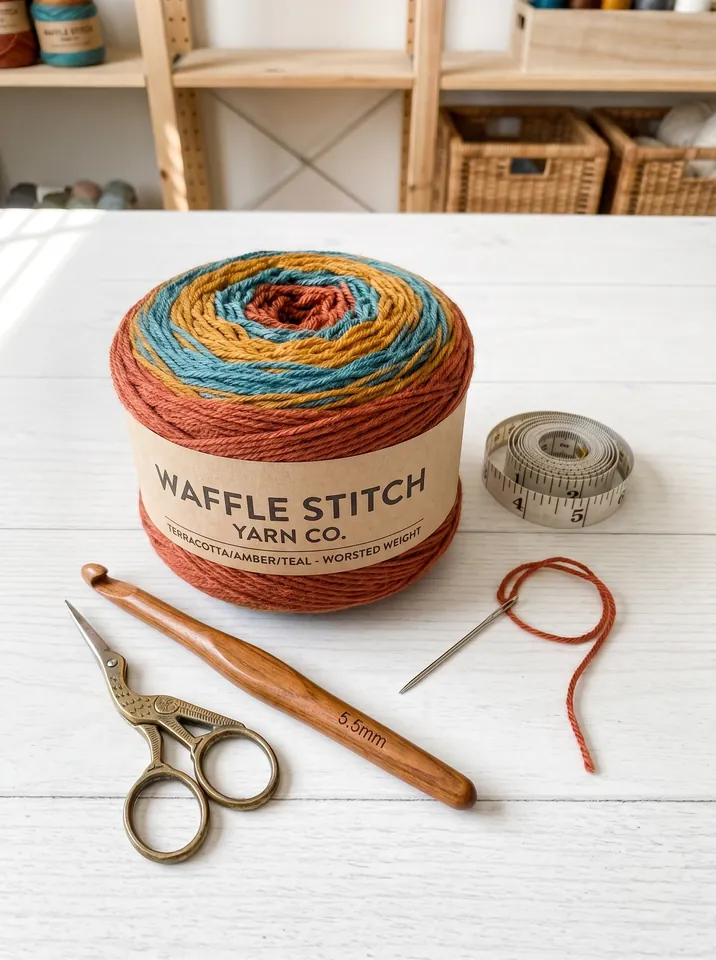
Choosing the correct yarn format determines how much finishing work your blanket requires. Long-gradient self-striping cakes allow you to build dramatic horizontal stripes without weaving in dozens of yarn tails along your selvage.
For this project, a medium worsted weight yarn with smooth ply twist provides crisp definition around every front post stitch. Loosely spun roving yarns tend to fuzz under repeated post wrapping, while overly stiff cotton can make the fabric feel like a floor mat.
Pairing your worsted yarn with a 5.5 mm hook prevents the dense stitch structure from becoming overly rigid. If your natural tension runs tight, stepping up to a 6.0 mm hook ensures your blanket maintains soft, fluid movement.
For repetitive front post wrapping across wide rows, an ergonomic hook with a smooth tapered throat prevents hand fatigue and allows loops to glide effortlessly.
Step 3 · Foundation Multiples & Row 1 Base

Every waffle stitch project relies on a simple mathematical formula: chain any multiple of 3, then add 2 additional chains for your starting edge. This multiple allows the raised post stitches and recessed pairs to balance symmetrically across the width.
To begin, create a slip knot and chain loosely to your desired width. If you tend to pull starting chains tightly, work your chain with a 6.0 mm hook before switching back to your 5.5 mm working hook for Row 1.
Work your first double crochet into the third chain from the hook. Continue placing one double crochet into every chain stitch across to the end of the row. Counting your stitches here is vital; an error in Row 1 cascades through every subsequent row.
Working into the back bumps on the underside of your starting chain leaves two neat parallel loops along the bottom edge, creating a tidy rim that accepts border stitches evenly later on.
Step 4 · The 2-Row Repeat & FPDC Mechanics

The magic of the waffle pattern lies in an intuitive two-row rhythm. Once you establish the muscle memory for working around the stitch post, you will no longer need to consult the written pattern.
To work Row 2, chain 1 and turn your work. Place a standard double crochet into the first stitch. Yarn over, insert your hook from front to back and out to the front around the post of the second stitch, yarn over, pull up a loop to the full height of your row, and finish your double crochet normally.
Next, work one standard double crochet into the tops of the following two stitches. Repeat this pattern (1 FPDC, 2 DC) across the row until you reach the final two stitches. End with 1 FPDC and a final standard DC in the last stitch.
For another tactile autumn home project using post techniques and rich botanical texture, explore our crochet maple leaf patterns for autumn table decor.
Always draw your post loop up to the level of your active row before yarning over and completing the stitch. Pinching this loop short pinches the fabric and causes the blanket to bow inward along the middle.
Step 5 · Reading Your 3D Pocket Grid

Row 3 completes the pocket grid by reversing the post placement. On this return pass, you will enclose the two stitches that remained recessed during Row 2, creating the horizontal borders of each square waffle cell.
To execute Row 3, chain 1 and turn. Work a standard double crochet in the first edge stitch. You will immediately see the back of the previous row's stitches. Work 2 FPDCs around the two stitches that sat flat, followed by 1 standard DC into the stitch that was pushed forward.
Repeat this sequence (2 FPDC, 1 DC) until 2 stitches remain. Work 1 standard DC into the next stitch and 1 standard DC into the last stitch. Your count matches Row 1 exactly, and the square waffle grid locks into place.
Choosing yarn cakes with long, gradual gradient shifts showcases the raised geometric waffle grid without creating harsh color jumps or dozens of ends to weave in.
Reading your fabric visually is simple: if a stitch looks recessed and far away, it gets a front post wrap to bring it forward; if a stitch already stands tall on your side, work into its top loops to let it recede.
Step 6 · Eliminating Diagonal Edge Drift

The single most frustrating flaw in traditional waffle blanket patterns is diagonal selvage drift. Many older patterns instruct you to chain 3 at the start of each row and count that chain as your first double crochet stitch.
Because post stitches naturally pull fabric inward, a loose turning chain bends outward, creating a gap. Over fifty rows, these small loose loops accumulate, causing the entire blanket to slant sideways into a parallelogram.
To guarantee razor-straight side edges, adopt the studio turning chain technique: chain 1 only, turn your work, and place your first full double crochet directly into the very first stitch at the base of that chain.
At the end of the row, work your final double crochet into the top loops of the last genuine double crochet, completely ignoring the turning chain from the row below. This anchors your side edge in a dense vertical pillar.
Explore more handcrafted living accents and cozy textured throws in our dedicated crochet home decor pattern collection.
Check your stitch count every ten rows. With this turning method, your total stitch count remains identical on every single row from foundation to bind-off.
Step 7 · Sizing Formulas & Yardage Estimates

Sizing and Yardage Chart for Six Blanket Sizes
Because the waffle stitch wraps yarn around stitch posts, it consumes roughly 30 to 35 percent more yarn than flat double crochet. Running short on yarn during the final ten rows is heartbreaking, so plan your yardage carefully.
Use the comprehensive sizing and yardage parameters below to choose the right starting chain and skein quantity for your intended blanket size.
| Blanket Size | Finished Dimensions | Starting Chain (Mult 3 + 2) | Total Stitches | Estimated Yardage | Approx. Cakes (600 yds ea) |
|---|---|---|---|---|---|
| Baby Stroller | 30 x 35 inches | 107 chains | 105 stitches | 1,150 yds | 2 cakes |
| Crib / Toddler | 36 x 48 inches | 128 chains | 126 stitches | 1,750 yds | 3 cakes |
| Lapghan | 40 x 50 inches | 143 chains | 141 stitches | 2,050 yds | 4 cakes |
| Throw / Sofa | 50 x 60 inches | 179 chains | 177 stitches | 3,050 yds | 5 to 6 cakes |
| Twin Bed | 66 x 90 inches | 236 chains | 234 stitches | 6,050 yds | 10 to 11 cakes |
| Queen Bed | 90 x 90 inches | 323 chains | 321 stitches | 8,250 yds | 14 cakes |
Once your blanket body reaches the target length, a light block squares the edges. Wool and cotton take a full wet block; acrylic only needs a spritz of water and pins, because heat flattens its texture for good.
Pinning blanket edges squarely along printed grid lines locks perpendicular corners while the fabric dries, without pressing down the three-dimensional stitch ridges.
Pin the edges straight on foam blocking grids and let the blanket dry fully before unpinning. If you steam acrylic at all, keep the iron well above the fabric and stop the moment it softens. Direct heat crushes the raised waffle ridges.
Step 8 · Flat Single Crochet Border

A simple border gives a waffle blanket an intentional, tailored frame. Because the interior waffle grid already carries intense visual texture, ornate scalloped borders often compete with the geometric squares.
Border fluting occurs when too many stitches are crammed along the raw side edges. To prevent wavy ruffling, maintain a strict ratio: work exactly 2 single crochets around the post of each double crochet row end.
Across the top and bottom foundation edges, work 1 single crochet into each available stitch. When you arrive at a 90-degree corner, work 3 single crochet stitches into the exact corner point to navigate the turn without curling.
Join each border round with an invisible slip stitch join, fasten off, and weave in all yarn tails securely along the interior ridges of the back stitches.
Choosing Your Fiber: Acrylic Cakes vs. Cotton Blends vs. Wool
Selecting the best fiber for your waffle blanket depends on how you plan to use and wash the finished piece in your daily home life.
| Fiber Type | Primary Strength | Care Routine | Best For |
|---|---|---|---|
| Premium Acrylic | Lightweight warmth, budget friendly, soft drape | Machine washable, tumble dry low | Family throws, nursery gifts, heavy daily use |
| Cotton Blend | Crisp stitch definition, breathable, cool feel | Machine wash cold, lay flat to dry | Summer throws, sensitive skin, warm climates |
| Superwash Wool | Maximum thermal insulation, elastic memory | Gentle machine or hand wash, dry flat | Winter bedspreads, heirloom gifts |
For most households, premium acrylic cake yarns offer the ultimate balance of plush volume, easy laundering, and smooth self-striping color transitions.
Frequently Asked Questions
How many chains do I need to start a crochet waffle stitch blanket?
Chain any multiple of 3, plus 2 additional turning chains. For a standard 36 by 48 inch crib blanket, chain 128 stitches (126 plus 2). For a popular 50 by 60 inch sofa throw, chain 179 stitches (177 plus 2).
Why does my crochet waffle stitch blanket slant diagonally along the edges?
Diagonal edge drift happens when counting turning chains as stitches. Because front post double crochets pull inward, loose chains lean outward and skew the selvage. Chain 1 (which does not count as a stitch) and place your first double crochet directly into the first stitch to keep the edge vertical.
How much yarn does a waffle stitch blanket use compared to plain double crochet?
The waffle stitch uses approximately 30 to 35 percent more yarn than plain double crochet. Wrapping stitches around posts draws the fabric closer together, creating dense, thermal air pockets that require extra yardage.
What is the best border for a waffle stitch crochet blanket?
A clean single crochet border frames the geometric waffle grid best. Work 2 single crochets around each double crochet row end along the sides, and 3 single crochets into each 90-degree corner to keep the border flat.
Can I use self-striping cake yarn for a waffle stitch blanket?
Yes, self-striping cake yarn is ideal for waffle stitch blankets. Gradual color changes highlight the 3D grid rows naturally while eliminating the need to weave in dozens of yarn tails along the edges.
Pick up your favorite worsted yarn cake, work your foundation multiple, and follow this crochet waffle stitch blanket pattern to create an heirloom throw that brings warmth and slow-craft comfort into your home.
Pin This Waffle Blanket Pattern
Save this tutorial to your Pinterest crochet boards so you can return to the 6-size chart, yardage formulas, and straight selvage tips whenever you are ready to begin.
Save on PinterestKeep reading