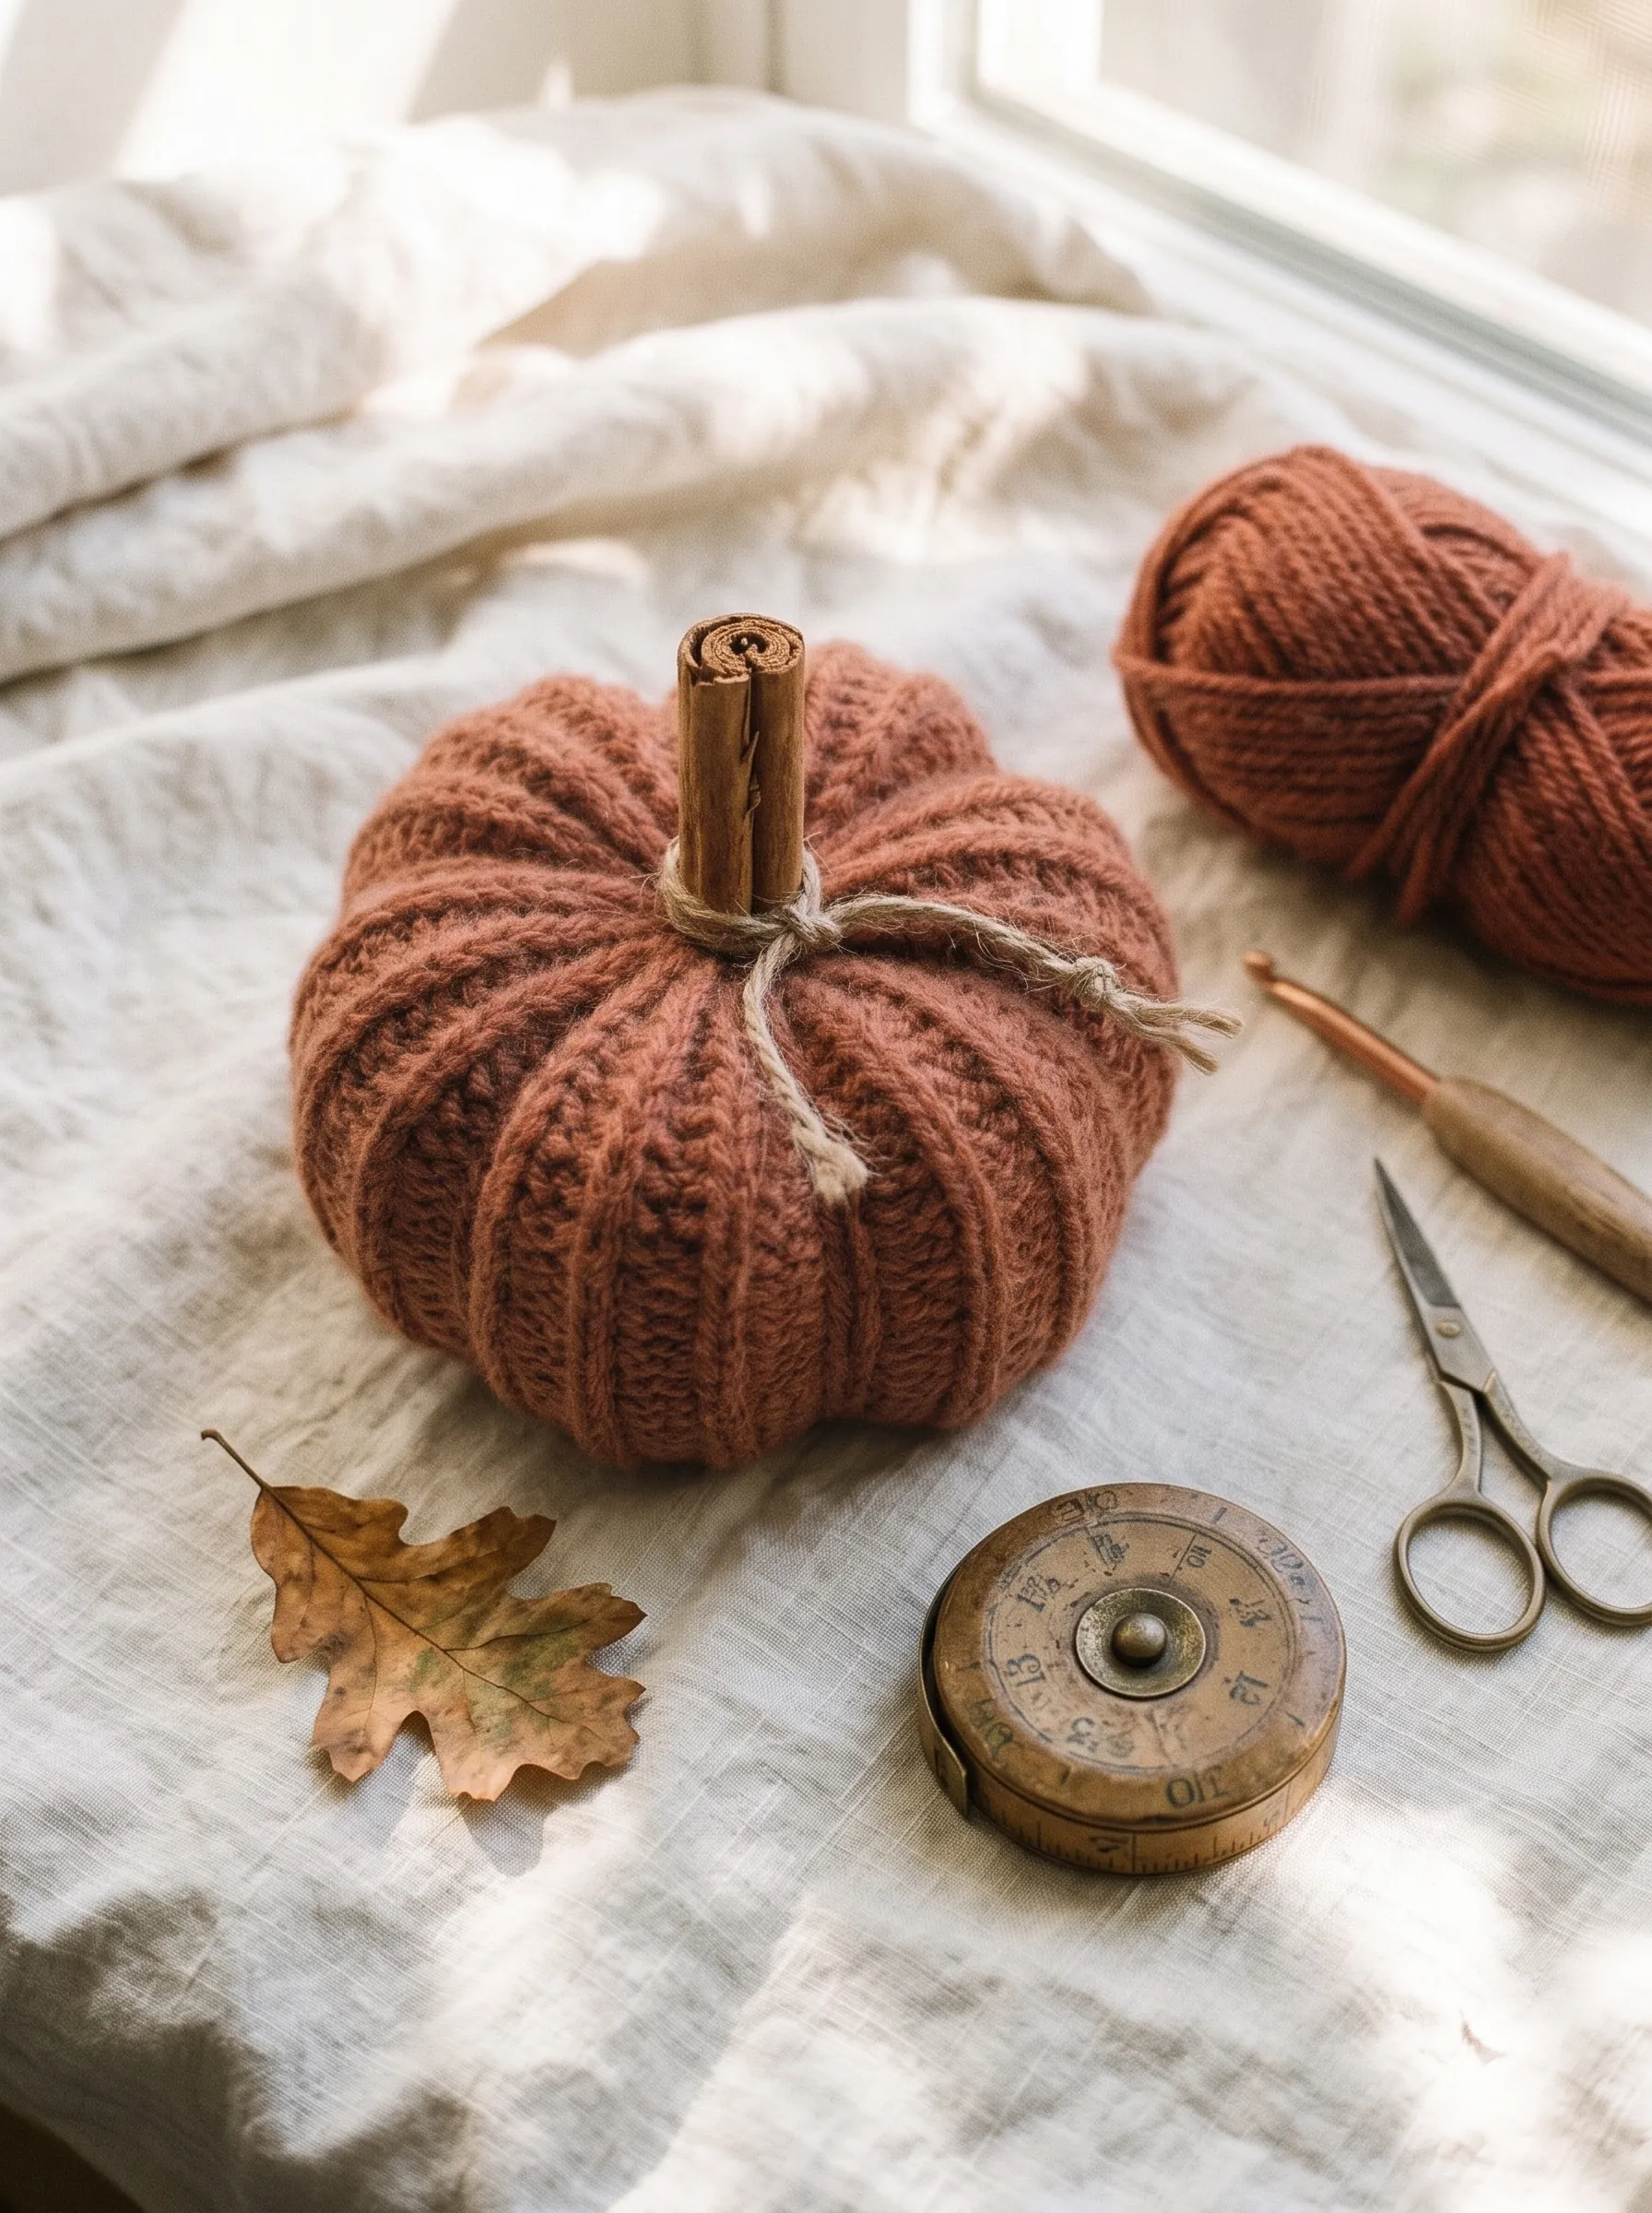
Making this crochet pumpkin pattern turns a simple flat rectangle into a plump, textured autumn centerpiece. With just one skein of worsted wool, you create an heirloom decor piece in under an hour without any complicated round increases or difficult stitch math.
Traditional round amigurumi pumpkins require continuous spiral increases that can easily warp if your stitch tension drifts. This flat-panel construction eliminates that headache entirely by working clean rows back and forth, producing straight edges that seam smoothly into a cylinder.
Working through the back loop creates an accordion ribbing that mimics natural pumpkin skin. The deep valleys fold inward while the raised ridges puff outward when stuffed, giving your finished make an organic shape that looks stunning on dining tables, mantels, or studio shelves.
Below, you will find the complete materials checklist, step-by-step photos, and assembly secrets. Whether you are crocheting your first seasonal project or building a tabletop pumpkin patch, this pattern provides clear stitch placement and reliable shaping techniques for a polished finish.
Table of Contents 12 sections
Pumpkin Sizing and Stitch Counts at a Glance
Scale this easy pattern from small table scatter to large centerpiece pumpkins with these stitch counts.
| Pumpkin Size | Foundation Chains | Total Ribbed Rows | Yarn Required | Finished Diameter |
|---|---|---|---|---|
| Small tabletop accent | 16 chains | 18 rows | 60 yards worsted | 3.5 inches wide |
| Medium studio pumpkin | 22 chains | 22 rows | 85 yards worsted | 5.0 inches wide |
| Large centerpiece gourd | 30 chains | 28 rows | 130 yards worsted | 7.0 inches wide |
| Fluffy jumbo statement | 38 chains | 34 rows | 190 yards bulky wool | 9.5 inches wide |
Step 1: Crochet Pumpkin Pattern: Materials and Foundation Chain

Begin your project by selecting a bouncy worsted weight wool in burnt terracotta, rust, or ochre. Natural animal fibers provide a cozy matte texture that holds shape without sagging once stuffed, unlike slick acrylics that can stretch unevenly across seamlines.
Tie a secure slip knot and place it onto your 5.0 mm wooden crochet hook. Work 22 foundation chains with relaxed, consistent tension. Pull each loop to uniform height so the starting edge remains supple and flexible during later seaming stages.
Lay your foundation chain flat across your working surface to inspect the chain loops. Verify that you have exactly 22 chains, and confirm that the strand has not twisted before you begin working into the back bumps of the first working row.
Studio Tension Secret: If your foundation chain tends to pull tighter than your fabric, work the starting chain using a hook half a millimeter larger. This prevents the bottom edge from puckering inward when you cinch the base.
Step 2: Working the First Back-Loop Half Double Crochet Rows

To create the accordion ribbing, work half double crochet stitches into the back loops only across every row. Yarn over, insert your hook into the back loop of the second chain from your hook, yarn over again, pull up a loop, yarn over, and draw through all three loops.
Repeat this movement across all 21 working stitches. At the end of the row, work a single turning chain and rotate your fabric clockwise. Working into the back loop leaves the front loop unworked as a prominent horizontal ridge on the front face of your fabric.
As you complete the first four rows, the alternating ridges begin to form an elastic, pleated fabric. Keep your stitch edges straight by counting 21 stitches at the end of each row so your rectangular piece maintains crisp parallel sides throughout.
Step 3: Completing the Flat Ribbed Rectangle

Continue working back-loop half double crochet until you complete 22 rows. Your finished piece will measure approximately 12 inches in length by 6 inches in height, forming a sturdy rectangular panel with clean, springy ridges running vertically across the surface.
This textured fabric structure is a cornerstone technique across our crochet beginner guides because it teaches reliable edge control and stitch consistency. The finished rectangle should feel dense enough that fiberfill will not poke through the loops.
Fasten off your working yarn, leaving a generous 36-inch tail. You will use this long tail to seam the cylinder, cinch both openings shut, and sculpt the deep pumpkin segments, so keeping a continuous strand avoids bulky interior knots.
Step 4: Seaming Short Edges to Form an Open Tube

Thread your long yarn tail onto a blunt tapestry needle. Fold the crochet rectangle in half with right sides facing outward, bringing the foundation chain and final row together so the short vertical edges align perfectly across all 21 stitches.
Pass your tapestry needle through the outer loops of both matching edges in an alternating zigzag motion. Pull the joining strand every three stitches to close the seam smoothly without buckling the fabric, creating an open cylindrical tube that stands upright.
Because the mattress stitch nestles into the groove between ridges, the join becomes virtually invisible on the exterior. This technique keeps the ribbing continuous around the entire perimeter of your ribbed crochet pumpkin.
Step 5: Cinching the Bottom Opening Completely Shut

With the seam complete, turn your attention to closing the bottom opening. Thread the needle along the bottom edge, weaving an over-and-under running stitch through the outer loop of every second row around the entire circular rim of the tube.
Once you return to the starting point, grasp the yarn tail firmly and pull steadily. The ribbed fabric puckers and cinches inward, closing the bottom opening into a neat star-shaped rosette that sits completely flush on flat surfaces.
Pass the needle through opposing folds three times to anchor the cinch securely. This reliable technique pairs beautifully with our crochet maple leaf patterns for creating festive seasonal centerpieces with polished handcrafted charm.
Step 6: Stuffing the Pumpkin Body with Cloud Fiberfill

Place your cinched crochet tube upright on its closed base. Pull small handfuls of polyester fiberfill apart with your fingers to separate clumped fibers, creating a soft, cloud-like filling that expands evenly inside the pumpkin cavity.
Gently pack the stuffing into the cylinder, starting along the bottom edges and working toward the center. Fill the pumpkin until the walls curve outward naturally into an easy crochet pumpkin silhouette without stretching the crochet stitches so wide that batting shows through.
Leave a small depression in the center core of the stuffing. This open central channel makes it easy to pass your long sculpting needle from top to bottom when you define the external segments in the next step.
Shaping Advice: Avoid overpacking the fiberfill until the crochet fabric feels rigid like a rock. A slightly soft, squishable pumpkin shapes much better when pulling the segment wraps taut in step eight.
Step 7: Cinching the Top Opening Closed

Thread your needle again and weave a running stitch through the top edge loops around the open rim, identical to the bottom cinching process. Take care to catch the top loop of every ridge so the pleats draw together symmetrically.
Pull the yarn tail firmly to cinch the opening completely shut, trapping the cloud-like fiberfill securely inside the body. Press down gently on the top center with your thumb to flatten the sphere into a classic squashed pumpkin geometry.
Tie a firm half-hitch knot at the center gathering point, but do not cut the remaining yarn. You need at least 28 inches of working tail extending from the center knot to sculpt the six exterior pumpkin lobes.
Step 8: Sculpting Six Plump Pumpkin Lobes

Now comes the magical transformation that turns a ribbed sphere into an authentic gourd. Insert your tapestry needle straight down through the center top hole, pushing it directly through the middle stuffing and out through the center base hole.
Bring the yarn tail up around the outside of the pumpkin, nestling the strand into one of the vertical ribbed grooves. Insert the needle back through the top hole and pull firmly, indenting the outer wall to form your first plump lobe.
Repeat this process five more times at evenly spaced intervals around the circumference. Pull each pass with equal tension to create six balanced segments that give your fall crochet decor realistic depth and irresistible handmade charm.
Step 9: Adding the Real Cinnamon Stick Stem and Jute Bow

For an earthy finishing touch, select a 2.5-inch rolled cinnamon stick stem to serve as the rustic pumpkin stalk. The natural woody texture and sweet, cozy fragrance instantly elevate your crochet make above ordinary store decor.
Cut an eight-inch length of natural jute twine and tie a simple double knot around the cinnamon stick, knotting the ends into a neat rustic bow with short frayed tassels. The rough jute fibers contrast beautifully against the warm terracotta wool.
Apply a small dab of fabric glue or craft adhesive to the bottom half-inch of the cinnamon stick, then press it firmly into the central top depression between the cinched lobes. Hold for thirty seconds until the stem sits upright and secure.
Step 10: Styling and Displaying Your Finished Autumn Decor

Your completed handmade ribbed pumpkin is ready to display throughout your living room, kitchen, or craft studio. The burnt terracotta shade pairs naturally with neutral linen runners, warm brass candlesticks, dried botanicals, and small woodland pinecones.
To keep your wool makes looking fresh year after year, store them in a breathable cotton tote with a cedar block during summer months. A light dusting with a soft clothes brush removes ambient lint without fuzzing the delicate wool fibers.
Grouping pumpkins in three complementary sizes creates visual rhythm across an autumn mantelpiece. Try working additional versions in creamy parchment, deep forest moss, and warm golden honey to complete your bespoke cottage pumpkin patch.
Once you complete your first crochet pumpkin pattern, you will want to make a whole patch in mustard, olive, and cream tones to warm your home throughout the autumn season. The relaxing rhythm of back-loop rows and the fun of sculpting segments make this quick project a cherished fall ritual.
Frequently Asked Questions
What is the best yarn for this easy crochet pumpkin pattern?
A bouncy worsted weight wool or wool blend creates the most realistic pumpkin texture. Wool holds deep accordion ridges and provides crisp stitch definition, while resisting stretching when the segments are pulled taut around the fiberfill core.
Why are my pumpkin stitches pulling apart and showing white stuffing?
Stitches stretch open when the crochet hook is too large for the yarn weight or when the pumpkin is overstuffed. To prevent stuffing from showing through, drop down to a 4.5 mm or 5.0 mm hook to keep the fabric dense, and pack fiberfill firmly but gently.
How do I make different sizes of crochet pumpkins with this pattern?
To adjust the pumpkin size, simply change the length of your starting chain and the total number of rows. For a smaller pumpkin, chain 16 and work 18 rows. For a large centerpiece, chain 30 and work 28 rows, keeping a roughly two-to-one length-to-height ratio.
Can I use a real twig or branch instead of a cinnamon stick?
Yes. Dried driftwood, birch twigs, or small tree branches collected from the garden make gorgeous natural stems. Wipe the wood clean with a damp cloth, let it dry completely, and secure it into the center top depression with craft glue.
Save This for Later
Pin this guide to your crochet board so it is ready when you start your next project.
Save on Pinterest