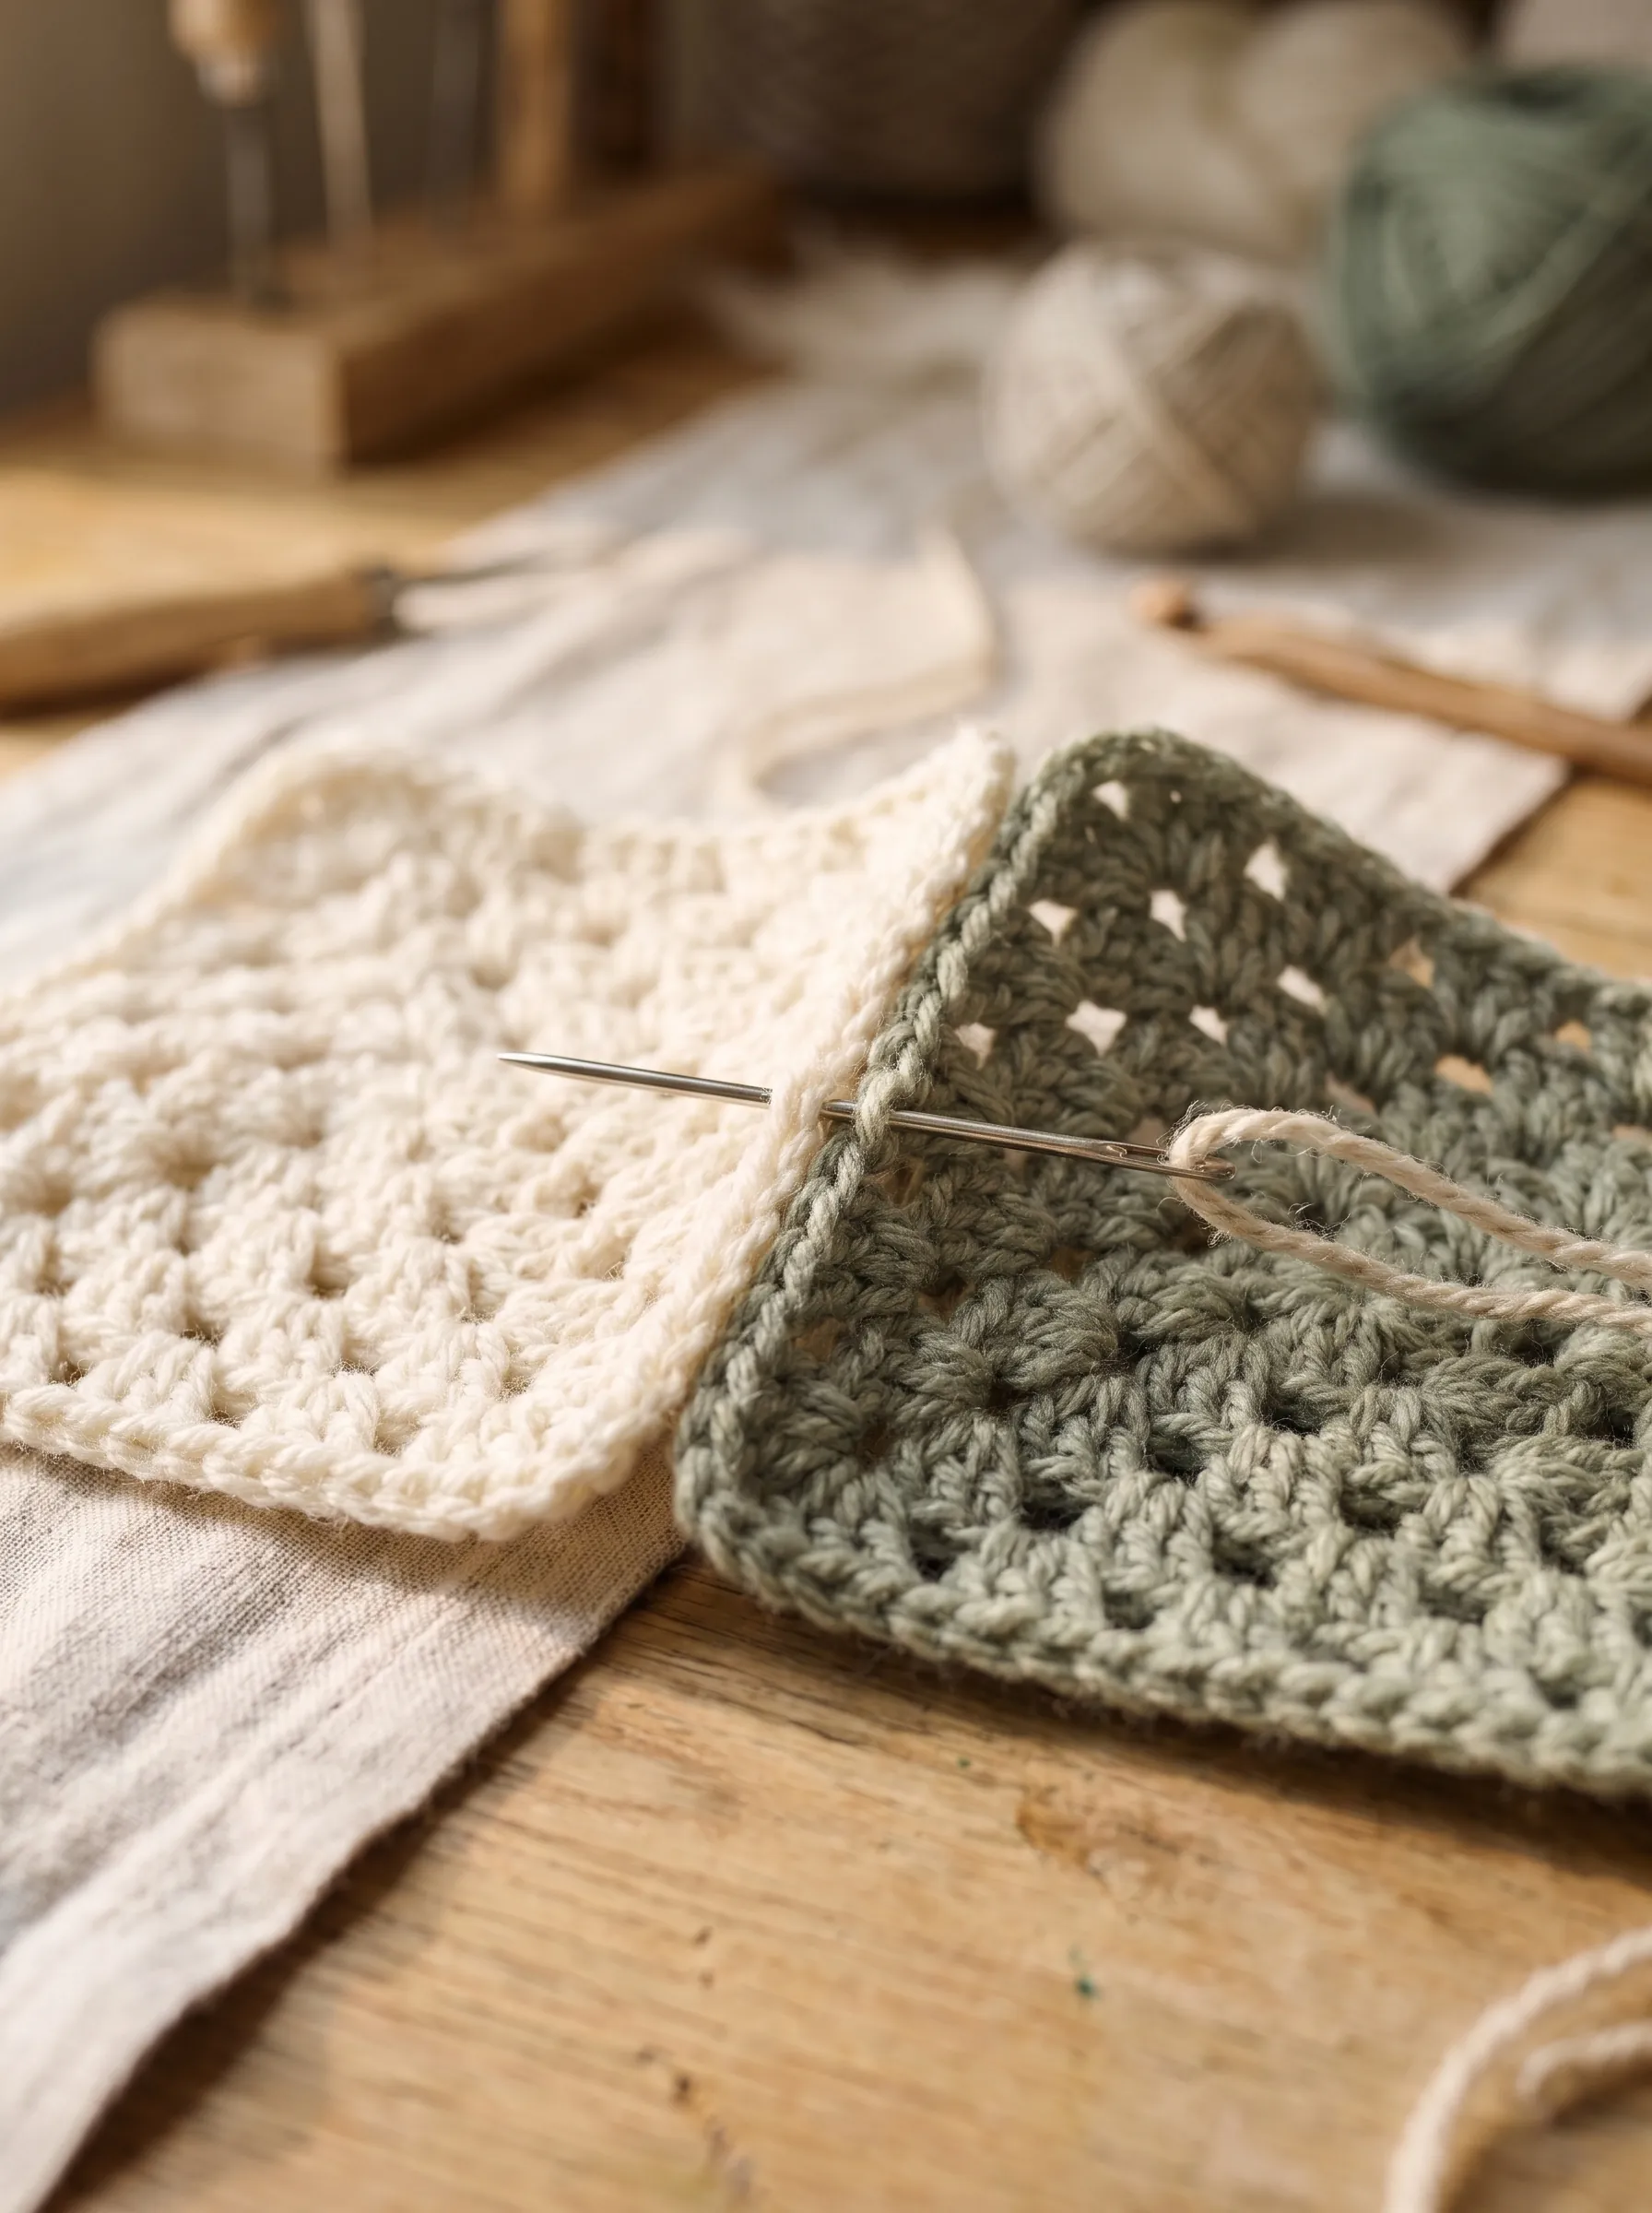
Learning how to join granny squares is the turning point where stacks of small crochet motifs transform into blankets, cardigans, and cozy afghans. Too many crocheters put off joining because they dread sewing seams, or worry that their finished blanket will buckle and curl along the ridges.
A bumpy seam is almost never a mistake in how you crochet your motifs. It comes down to picking the wrong joining method for your yarn weight, pulling seam tension tighter than the surrounding stitches, or rushing into sewing before your squares are blocked to identical measurements.
When you match the joining technique to the project's purpose, the process feels effortless and the finished seams lie completely flat. Whether you need an invisible seam for a sleek modern throw, a structural ridge for a tote bag, or a continuous join-as-you-go method, the right seam transforms the work.
Below, we walk through the six most reliable joining methods in detail. Each technique includes the exact needle or hook placement, tension guidelines, and practical advice from the studio so your patchwork lies flat from the moment you fasten off.
Table of Contents 11 sections
Granny Square Joining Methods at a Glance
Compare difficulty, seam texture, visibility, and project compatibility before you seam your squares.
| Method | Tool | Seam Profile | Visibility | Best Used For |
|---|---|---|---|---|
| Mattress stitch | Tapestry needle | Completely flat | Invisible | Bedspreads, cushions, wearables |
| Slip stitch (back loop) | Crochet hook | Nearly flat | Minimal | Geometric patchwork, baby throws |
| Single crochet join | Crochet hook | Raised ridge | Decorative | Bags, chunky blankets, borders |
| Join-as-you-go (JAYG) | Crochet hook | Open lattice | Built-in | Continuous blanket builds |
| Flat braid join | Crochet hook | Lacy braid | High decorative | Summer throws, floral squares |
| Whip stitch | Tapestry needle | Low profile | Low to moderate | Quick repairs, scrap afghans |
Step 1: How to Join Granny Squares: Start with Flat Layout

Before your hook or needle touches a seam, give your squares ten minutes on a blocking board. Joining unblocked squares with slightly curled edges forces you to tug and compensate with your working yarn, which creates puckers at every four-way intersection.
Pin your squares to exact uniform measurements using stainless steel T-pins on a foam grid mat. For acrylic yarn, hover a steam iron half an inch above the squares without touching the fiber to set the shape. For wool or cotton, a gentle misting of water and overnight drying is enough.
Once the squares are flat and dry, arrange them across a table or clean floor. Take a photo with your phone to remember the color sequence. Double-check that all squares face right-side up, and verify that corner chain spaces match in stitch count across every single row.
Sara's Studio Observation: If your corner chain counts differ by even one stitch across motifs, your seam will skew diagonally over twenty squares. Count your final-round corners during layout so there are no surprises midway through a row.
Step 2: The Invisible Mattress Stitch Seam

The mattress stitch is the gold standard for blankets and garments where you want seams that disappear into the fabric. Using mattress stitch crochet techniques creates a smooth, flat connection without adding bulky ridges against the skin.
Thread a tapestry needle with a length of yarn no longer than your forearm. Longer lengths fray as they pass through wool fibers. Place two squares side by side with the right sides facing up. Fasten your yarn securely in the bottom corner chain spaces.
Slide the needle horizontally under the inner loop of the first stitch on the right square. Then pass under the matching inner loop on the left square. Work back and forth in an alternating zigzag pattern across the edge.
Keep your stitches slightly loose as you work along the edge. Gently pull the yarn straight along the seam every three or four inches; the zigzag closes up and vanishes completely into the yarn fibers.
Step 3: The Back-Loop Slip Stitch Join

If you prefer keeping your crochet hook in hand rather than sewing with a needle, the slip stitch join is the fastest, cleanest approach. Working through the back loops only leaves the front loop ridges untouched, creating a clean frame around each motif.
Hold two squares with wrong sides facing together. Insert your hook through the back loop of the front square and the matching back loop of the back square. Yarn over and pull through all loops on your hook.
This technique is popular across our crochet beginner guides because it requires no sewing needle. It pairs naturally with our easy crochet projects for beginners, where quick assembly keeps motivation high from the first motif to the finished edge.
Step 4: The Raised Single Crochet Join

When you want the seams to become a deliberate design feature, the single crochet join frames each square with a bold, raised outline. This technique adds structural stiffness, which makes it perfect for heavy tote bags, floor cushions, and rugged cabin throws.
Hold your squares with wrong sides together. Insert your hook through both loops of both squares, yarn over, pull up a loop, yarn over and pull through two loops. Work one single crochet into each stitch across the edge, placing one single crochet in each chain space.
Using a contrasting yarn color, such as crisp cream between earthy sage and ochre squares, turns the joining lines into a polished windowpane grid. It also reinforces high-stress edges that would otherwise sag over time with daily handling.
Work with consistent tension so the raised ridge stands upright at an even height across all intersecting seams. When crossing a four-way intersection, jump directly into the next corner space without adding extra chain stitches.
Step 5: The Continuous Join-As-You-Go Method

The join-as-you-go method saves hours of work on large afghans because you join each motif as you crochet its final round. You finish the last square, secure your working yarn, and the entire blanket assembly is complete.
Crochet the first three sides of your final round normally. When you reach the first joining corner, work your first group of double crochets, chain 1, drop your hook from the loop, insert the hook from the front of the completed square's corner space, grab the dropped loop, and pull it through.
As you work down the joining side, replace each chain space with a slip stitch into the adjacent motif's corresponding chain space. The result is an open, breathable lattice seam that drapes effortlessly and requires no post-project sewing.
Sara's Studio Observation: Keep a project basket with your completed squares organized in rows. When working JAYG, attach all motifs across Row 1 first, then build Row 2 downward in one continuous serpentine pass to minimize thread cuts.
Step 6: The Flat Braid Decorative Join

For delicate projects like spring throws, floral shawls, or baby blankets, standard solid seams can feel overly rigid. The flat braid join uses interlocking chain loops to create an intricate woven bridge between squares.
To execute the flat braid, work chain-3 loops separated by single crochets along the edge of each square. At every chain-3 space, drop the working loop, insert the hook down through the center of the opposite square's chain loop, and pull the working loop up before continuing.
This creates a gentle woven ladder between motifs. It adds width to your blanket without adding extra squares and provides a soft, fluid drape that pools comfortably over chairs.
Because the open chains add approximately one inch of space between motifs, calculate your final dimensions carefully before beginning. Block each joined strip gently to ensure the braid chains open to their full, airy geometry.
Step 7: The Flexible Whip Stitch Join

The whip stitch is one of the simplest seaming techniques in needlework, prized for its speed and natural flexibility. Unlike rigid seams, a whip stitch flexes alongside the crochet fabric, which prevents stitches from snapping when a blanket is stretched or folded.
Hold two squares with right sides facing each other. Starting at the corner chain space, pass your needle from back to front through both loops of both squares. Bring the yarn over the edge and repeat through the next stitch.
To keep the seam subtle, catch only the outer loops, meaning the front loop of the front motif and the back loop of the back motif. This leaves the inner loops to butt together flat, hiding the spiral passes beneath the surface of the yarn.
Pull the yarn with gentle, uniform pressure. If you pull too hard, the seam will scallop inward; if you leave it too slack, gaps will appear between squares when the afghan is lifted.
Step 8: Steam Block the Finished Seams

Even the most carefully worked seams hold minor tension irregularities when freshly finished. Blocking the joined project is the crucial final step that settles the stitches and blends the seams seamlessly into the surrounding fabric.
Lay the joined panel onto your blocking mats. Gently massage each seam outward with your fingertips so the joins lie flat and straight. Pin the perimeter corners and edges along grid lines to ensure crisp 90-degree angles across every block.
Apply steam evenly along the seam lines using a handheld steamer or the steam burst setting on an iron held at least an inch away. Never press the hot soleplate directly onto the yarn, as synthetic fibers will melt and natural wool will flatten into a shiny patch. Let the piece dry completely before unpinning.
This relaxing process equalizes stitch height across motifs and melds the joining yarn into the surrounding clusters, creating the unified appearance of a masterwork blanket.
Step 9: Weave in Tails and Add Your Border

With your seams flat and blocked, finish the project by securing remaining yarn tails. Thread each tail on your tapestry needle and weave it through the dense base of a double-crochet cluster, then reverse direction for three stitches; this three-pass method prevents tails from working loose during machine washing.
Add a simple border of two or three rounds of moss stitch or half double crochet around the entire blanket perimeter. A clean border binds all exterior motif edges into a cohesive frame, disguising any minute irregularities where joining seams meet the outside edge.
Mastering these core techniques for how to join granny squares turns project assembly from a tedious chore into the most satisfying stage of every handmade blanket make. Taking the time to block your motifs and keep gentle seam tension gives you a polished heirloom finish that lies flat across decades of daily use.
Frequently Asked Questions
Which granny square join is the flattest?
The mattress stitch produces the flattest seam, and the back-loop slip stitch join comes close behind it. Both let motifs sit almost flush edge to edge without a raised ridge on the right side, so your finished blanket or garment drapes smoothly without stiff seamlines.
Why are my granny square seams puckering or curling?
Puckering occurs when the joining thread or slip stitches are worked with tighter tension than the granny squares themselves. To fix this, use a crochet hook half a millimeter larger for slip stitch joins, or gently ease the mattress stitch yarn every few inches rather than pulling tight.
Should I block granny squares before or after joining them?
Both. Blocking motifs before joining ensures that all edges and corner spaces are identical in size, which prevents diagonal distortion. A gentle steam block after joining relaxes the seam stitches, melds the fibers, and helps the entire completed project lie completely flat.
Can I join granny squares that have different stitch counts?
Yes. If stitch counts differ slightly, use the mattress stitch or whip stitch and periodically work two stitches of the larger square into one stitch of the smaller square at evenly spaced intervals to distribute the difference invisibly across the whole edge.
Save This for Later
Pin this guide to your crochet board so it is ready when you start your next project.
Save on Pinterest